Aya Fiber Studio – Fiber Art Workshops in Stuart, FL
Where Artists Come to Create
Creative Fiber Art Studio in Stuart, Florida | Aya Fiber Studio
Welcome to Aya Fiber Studio — where your fiber art journey begins.
Located on Florida’s Treasure Coast in beautiful Stuart, FL, our studio is a nationally recognized destination for fiber art workshops, indigo dyeing, Japanese shibori, eco-printing, surface design, and textile arts education.
Join a vibrant community of artists who come from across the country to learn, experiment, and create in a supportive, hands-on environment.
Welcome to Aya Fiber Studio—your fiber art journey begins here.
Upcoming Fiber Art Workshops & Events
Explore our calendar of fiber art workshops, artist talks, and open studio sessions.
Whether you’re an experienced artist or a curious beginner, you’ll find a place to learn, grow, and connect.
Open Studio Time—drop in and work with our dye kitchen and print facilities.
Open Studio Time – Work, Experiment, Create
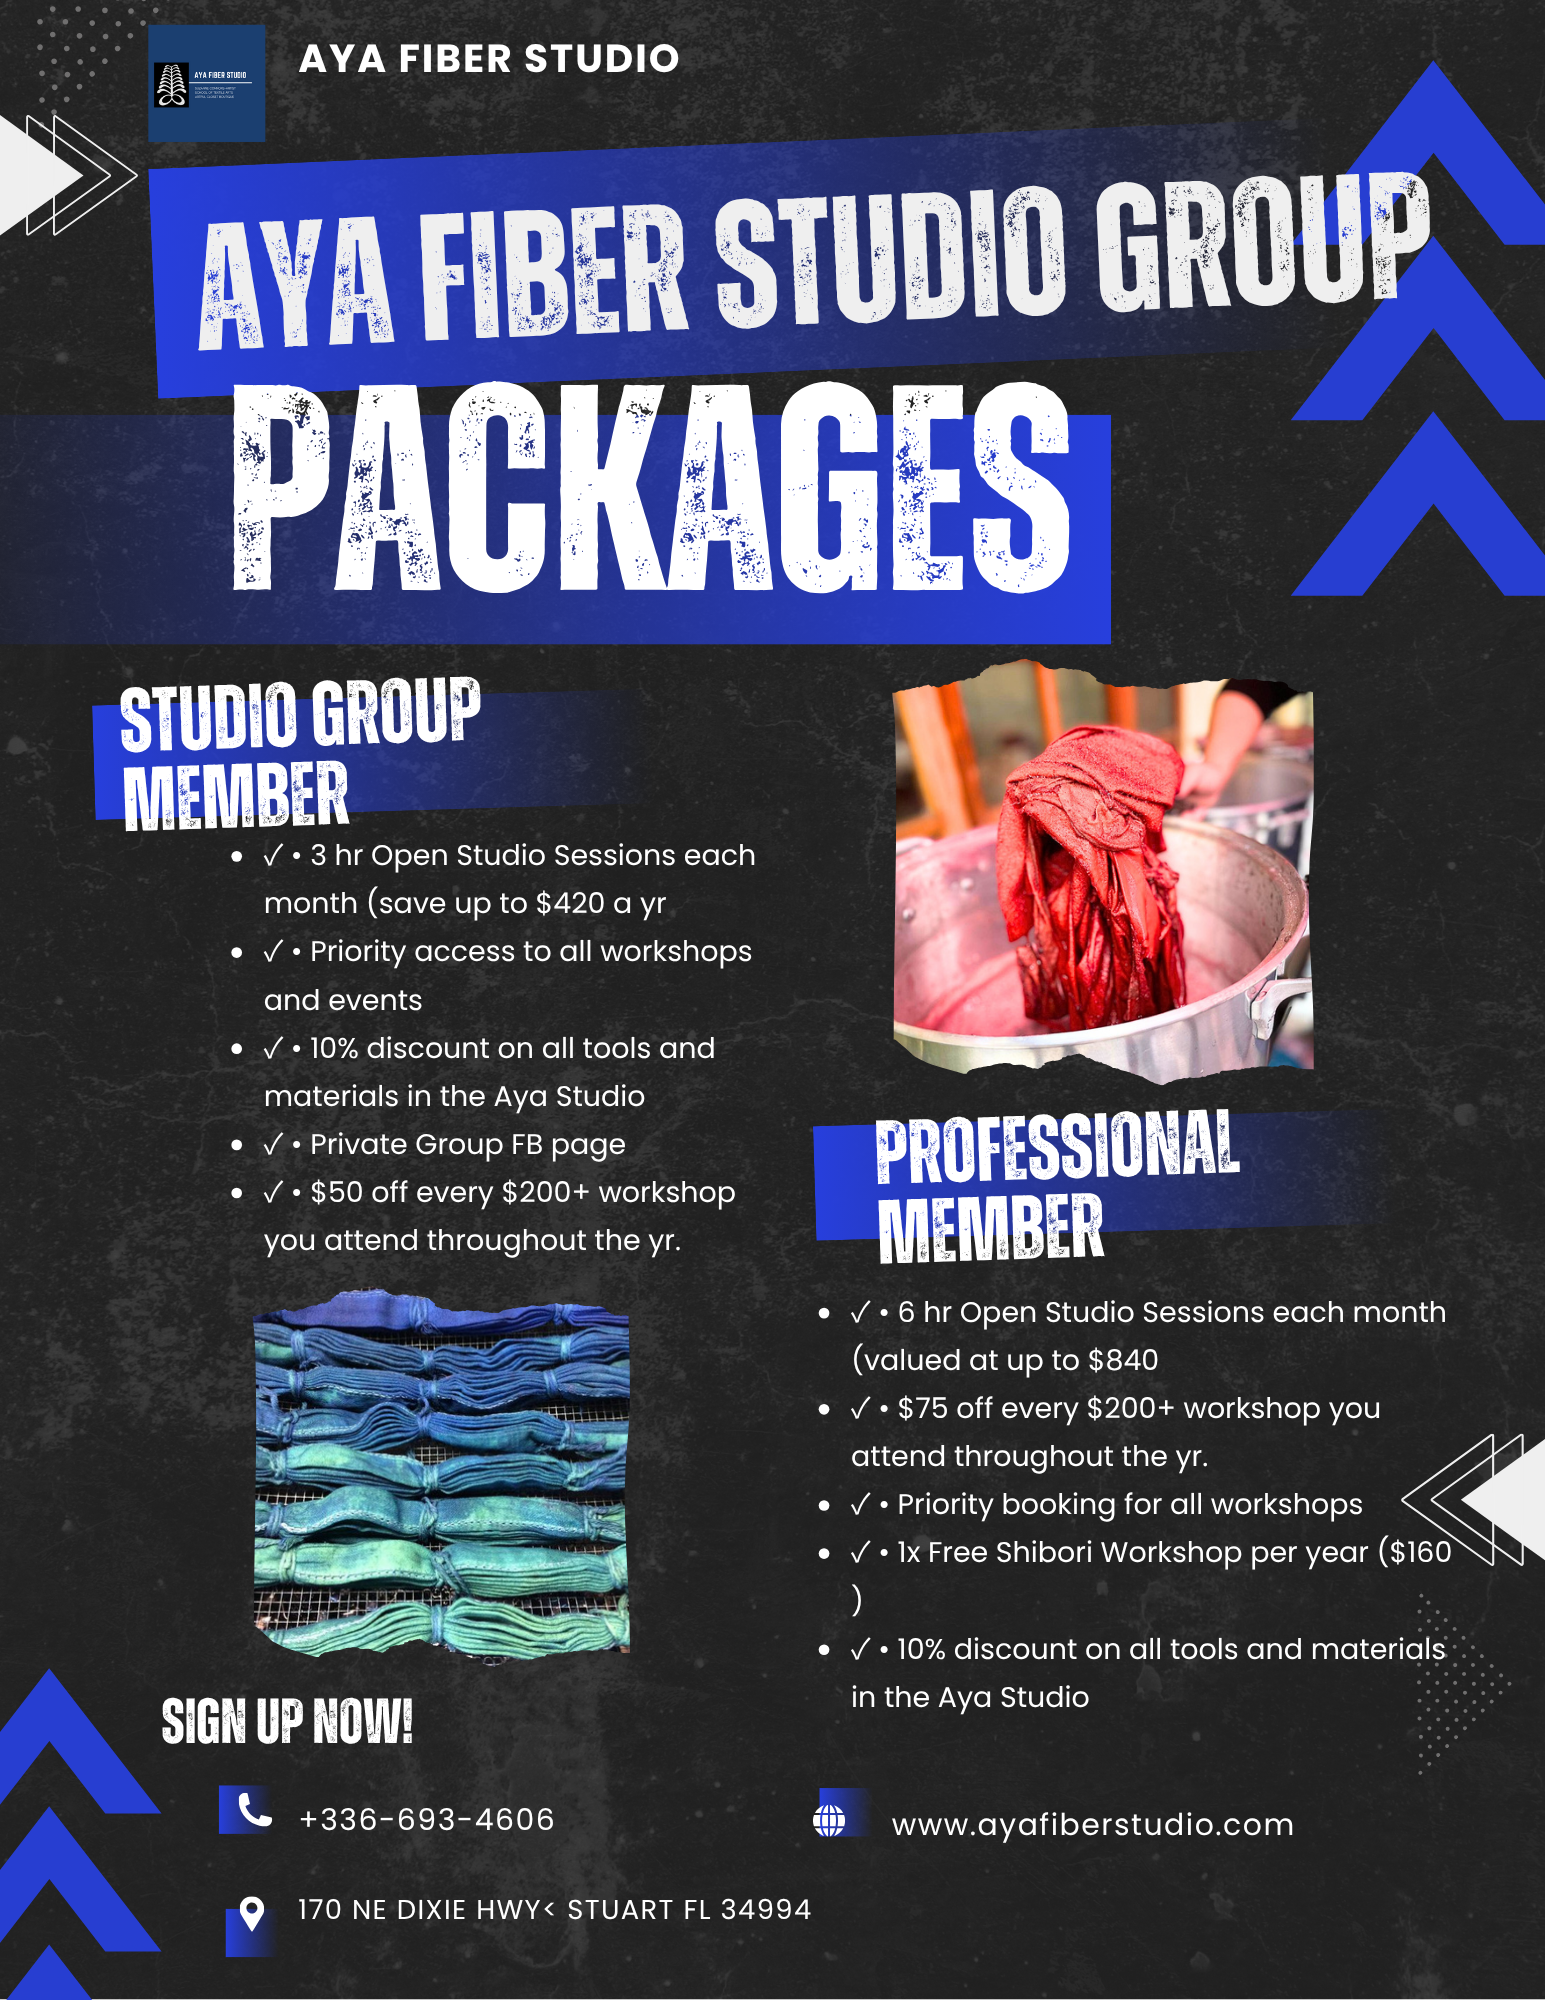
Become a Member of Our Fiber Art Community
Aya Fiber Studio’s Group Membership Program brings together artists, hobbyists, and supporters of the fiber arts.
Enjoy access to studio time, members-only events, and discounts on workshops and supplies.
Need more time to finish a project or start something new?
Join us for Open Studio Time — a drop-in creative session where you’ll have full access to our dye kitchen, print tables, and sewing stations.
💧 Perfect for indigo dyeing experiments
🧵 Ideal for continuing class projects
🪡 Great for independent creative time
💲 $40 per session | Materials available on-site
✨ Become a Studio Member
If you find yourself wishing for more time in the studio — membership is the perfect next step!
Members enjoy:
🌿 Priority access to Open Studio sessions and extended creative hours
🎨 Discounts on select workshops and materials
🤝 A creative community of fiber artists who share ideas, inspiration, and feedback
🧺 Storage space for personal projects and materials (based on availability)
💬 Invitations to members-only events, demos, and collaborative days
Whether you’re finishing a class project, experimenting with new dye recipes, or simply craving studio time surrounded by fellow makers — Aya Fiber Studio is your creative home away from home.
🌿 Aya Fiber Studio is entering its next chapter!
After 15+ years as a nationally recognized hub for fiber arts, Aya is officially for sale. This is your chance to carry forward a beloved creative legacy — with mentorship from founder Suzanne Connors.
Coffee with the Artists
☕ Coffee with the Artist
Sundays at 10:00 AM (EST) LIVE on Zoom
Start your Sunday mornings with inspiration! Grab a cup of coffee and join us for a relaxed conversation with fiber and mixed media artists from across the Globe. Each week, a different artist will share their creative journey, techniques, and current work, followed by open Q&A and lively discussion.
This informal series is a wonderful way to connect, learn, and be inspired—whether you’re a practicing artist, a collector, or simply curious about the world of fiber art.
✨ Free and open to all – just bring your coffee and curiosity!
Scheduled Artists are on the Event Calendar above.
PRE-Register on Zoom (for up to 5 sessions) Zoom will send you the Login Link the day before each session.
Aya Fiber Studio is South Florida’s premier destination for fiber art workshops, creative retreats, and textile design education. Located in Stuart, Florida, just minutes from the Atlantic coast, the studio welcomes artists from around the country for hands-on workshops in shibori, indigo dyeing, eco-printing, surface design, natural dyeing, papermaking, and book arts.
Whether you’re searching for a fiber art retreat in Florida, a textile art class near West Palm Beach, or a creative getaway to explore Japanese-inspired dye techniques, Aya Fiber Studio offers a supportive, immersive experience led by nationally recognized instructors.
Workshops range from one-day intensives to weeklong creative residencies, giving participants time to master skills, connect with other artists, and explore the beauty of Florida’s Treasure Coast.
The studio’s mission is simple: to provide an inspiring, fully equipped space where artists can experiment, learn, and grow — surrounded by a community that celebrates the art of the handmade.
✨ Plan your next art retreat in Florida with Aya Fiber Studio and discover why artists from around the world return year after year.


