Calendar of upcoming events.
Click on the Image for more Info


Natural Dyeing Seminar : Classical Natural Dyes Created in Modern Setting
Natural Dyeing of the 18th Century, in a Modern Setting: Classical Natural Dyes at your Fingertips
Create stunning colors from plans, inspired by the recipes of the old masters, adjusted to fit a modern dye kitchen.
Day one:
On the first day, you learn about the systems and economics of the 18th-century natural dye industry. Specifically in the South of France, which was the leading economic force of that century.
We learn about the master dyers of the era and their recipe books.
Practical instructions:
Correct cleaning of natural fibers
Water ratios
WOF calculations
Record keeping and building a library.
Practice and test: cleaning the materials you will be using for the rest of the trials.
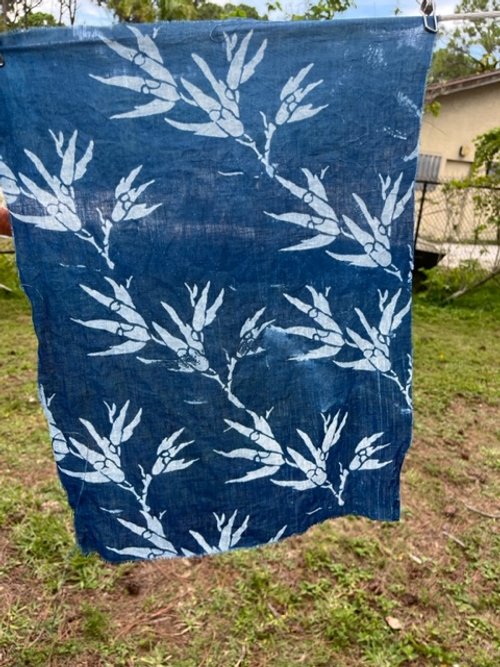
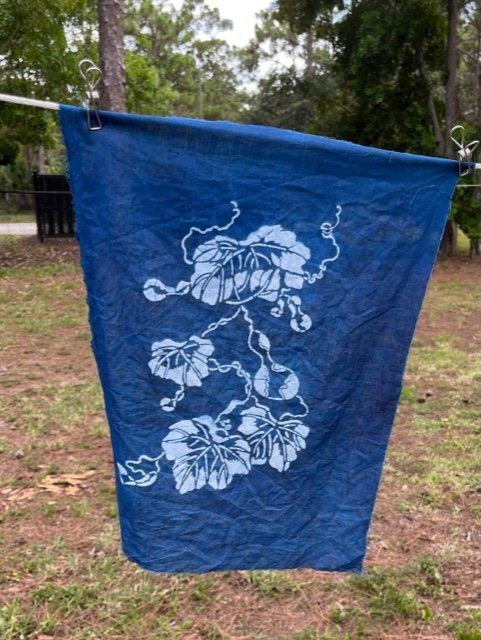
Color: Learn how to set up an indigo bath
Day two
We will dye base colors of different shades of blue according to 18th-century shade cards.
milky blue
azure blue
Kings blue
You will learn how to dye correctly, and how to maintain your vat for continued dyeing.
You will learn about the mordanting process for wool, and we will mordant part of our fabric for the following steps.
Day three
The yellows
You will learn a classical mordant bath for our wool fabric.
We will create a classical weld dye bath and a buckthorn berry bath and dye our yellow samples.
We will create
Lemon Yellow
Warm Yellow
Vert Gay (cheerful Green)
Vert d’Herbe (herb green)
Day four
Going all out with Madder and Cochineal
Today you will learn how to create vibrant reds with madder
We will create Purples by over-dyeing our blue samples
We will create ORANGE by over-dyeing yellow samples
Madder red
Scarlet red
Golden Cinnamon
Violet
Lila
Day Five
Greys, taupe and more.
Learn how to reuse your dye baths and combine them with mordants to create even more stunning shades.
We will finish our dyeing and collect and cut all the samples to make your sample collection for future reference.


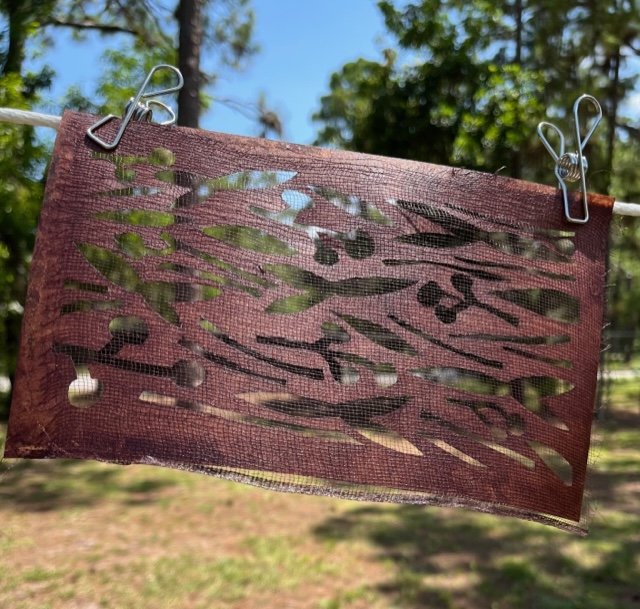
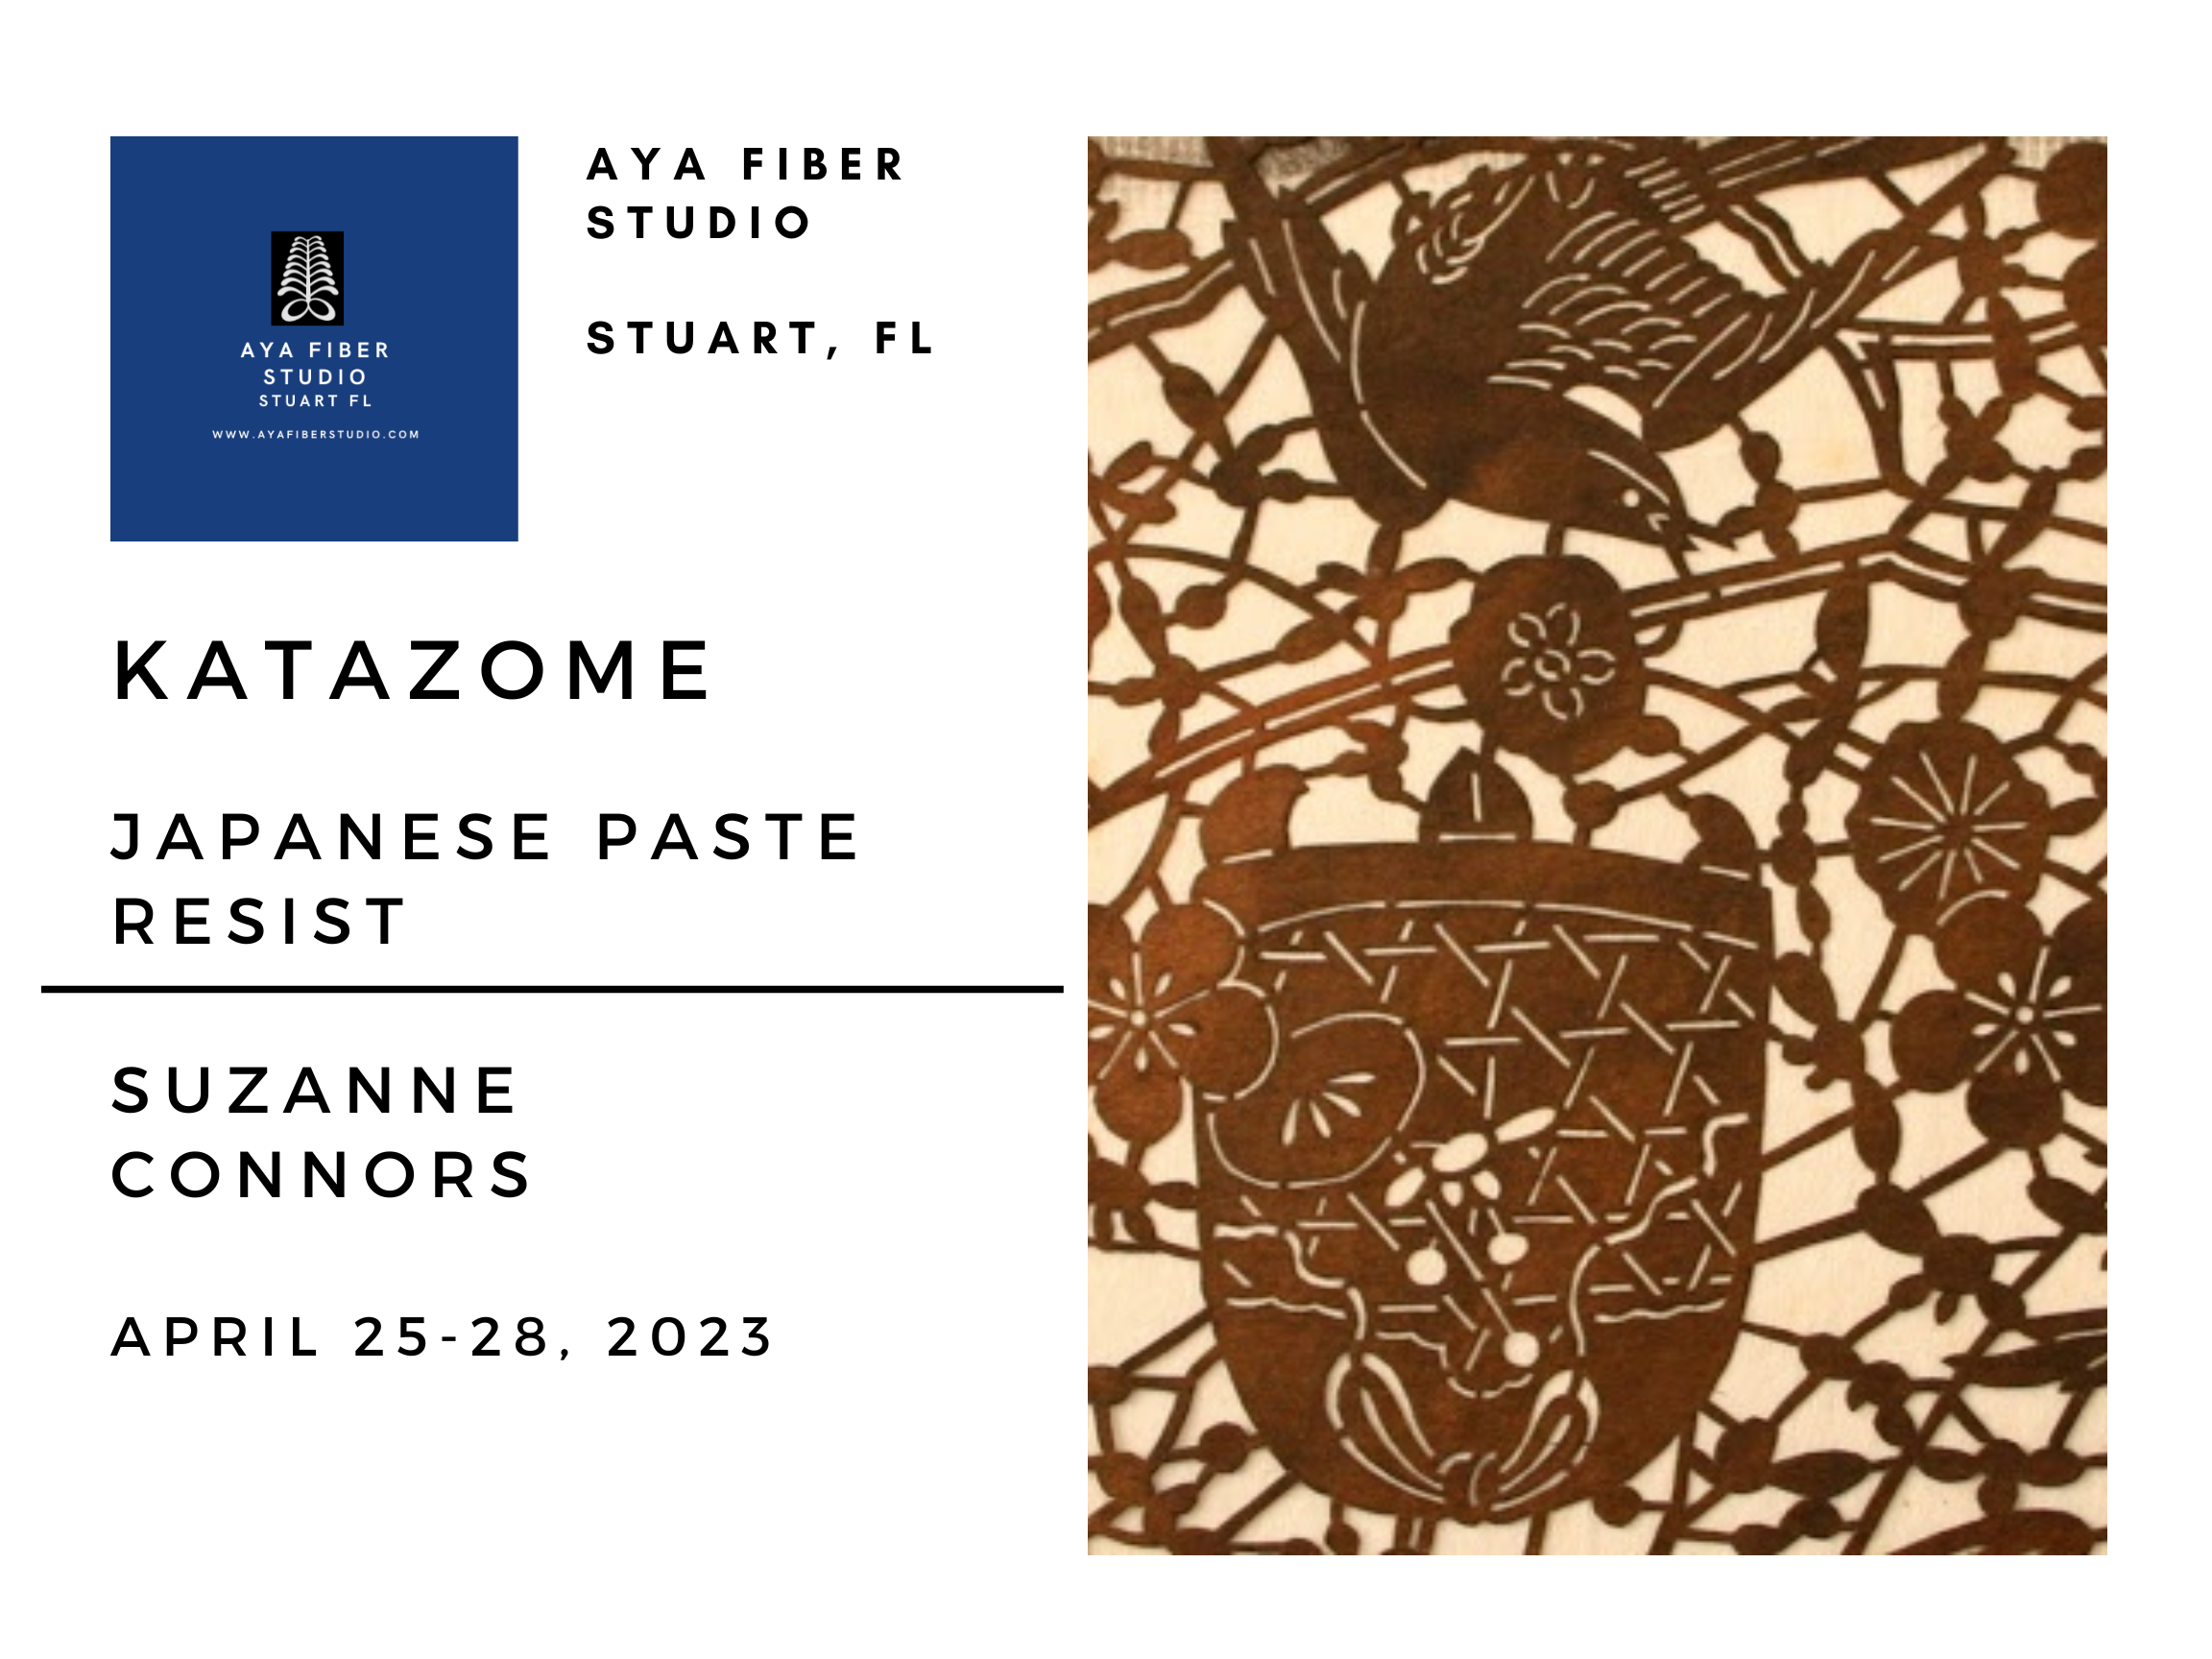
Katazome: Japanese Paste Resist with Suzanne Connors
The traditional Japanese art of katazome is ancient. Kata means stencil and zome is a form of the word someru which means to dye- hence katazome (stencil dyeing)
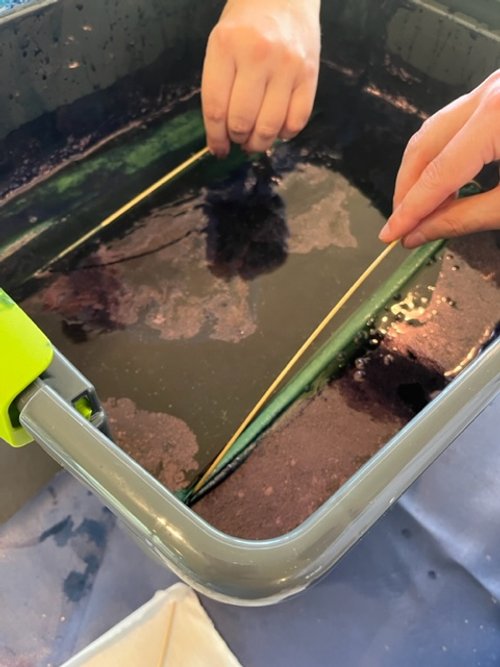
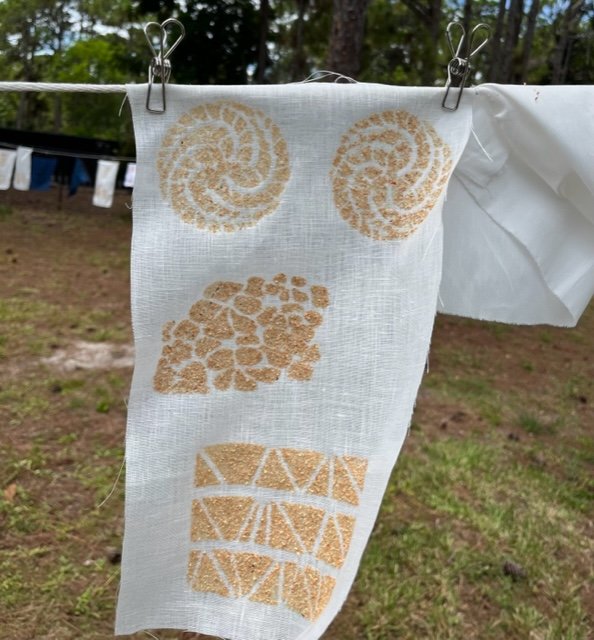
The basic process of stencil dyeing is not complicated. First a stencil is cut and placed on a piece of fabric. Next resist paste is applied through the stencil. The
Stencil is then removed, and the pasted fabric is allowed to dry in the sunlight. Fabric is then treated with sizing if going to be dyed with pigments. Fabric is then dyed or the coler pigments brushed on.
Finally, the fabrics soaked in water to remove the paste.
The steps of katazome must be followed in sequence, and timing is essential.
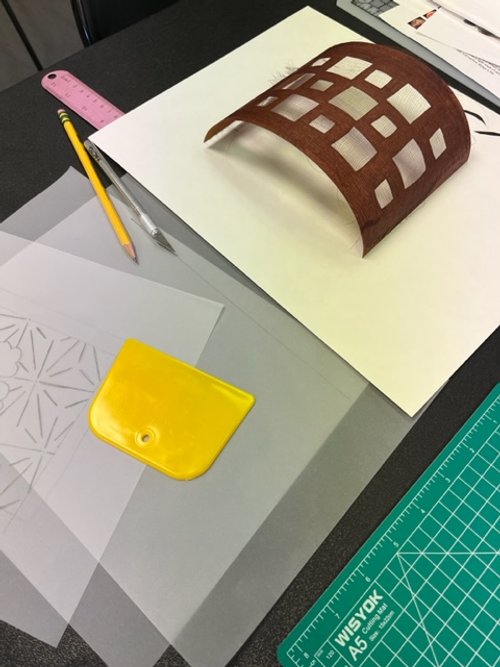

Katazome: Japanese Paste Resist with Suzanne Connors
The traditional Japanese art of katazome is ancient. Kata means stencil and zome is a form of the word someru which means to dye- hence katazome (stencil dyeing)
The basic process of stencil dyeing is not complicated. First a stencil is cut and placed on a piece of fabric. Next resist paste is applied through the stencil. The
Stencil is then removed, and the pasted fabric is allowed to dry in the sunlight. Fabric is then treated with sizing if going to be dyed with pigments. Fabric is then dyed or the coler pigments brushed on.
Finally, the fabrics soaked in water to remove the paste.
The steps of katazome must be followed in sequence, and timing is essential.

GARDEN PAPERS | MARY HARK
Using common bio-waste found in your yard or your garden, along with Asian fibers, workshop participants will produce a portfolio of beautiful, high-quality papers, appropriate for book arts, collage, printmaking and other inventive, artful applications.
Starting with a thorough discussion of the many qualities handmade papers can carry, students will consider how different fibers and processing decisions influence the physical properties of the final sheet. A simple approach to Asian papermaking as well as ways of setting up a papermaking studio in your home or classroom capable of producing strong, well-considered papers without expensive equipment will be covered. Simple plans for building equipment as well and many samples of garden papers will be shared.
Students will leave with the information necessary to create pop-up guerrilla papermaking sites wherever they are, and a lovely portfolio of papers made during the week!
